
Foundation's Passport device is one of several supported hardware devices that you can use as part of your vault in your Casa app.
This article walks through how to add your Passport device to your Casa vault.
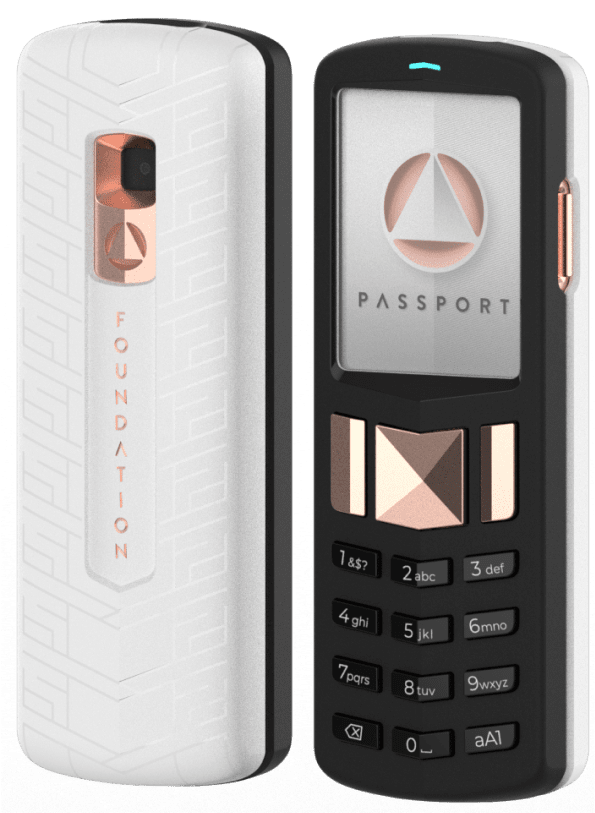
| Note: Only the previous version of the Passport device, the Foundation Passport V1, is currently compatible with Casa. The newest version, the Passport (Batch 2), is currently not compatible with Casa. |
If you haven't unboxed or set up (initialized) your Passport device yet, see our article: Setting up Passport for use with Casa.
Adding Passport to Casa
Start by tapping the key in your Casa app that you want to add, then tap "Set Up Hardware Key" (for 3-key vault; "Set Up Home/Office/Safe Key" for 5-key vault).
Next, select "Passport," then tap "Continue."
Since you've already set up your Passport device, tap "Continue, It's Set Up."
Next, you'll get a prompt like this, letting you know that your Casa app is ready to scan the QR code from your device.
Advanced users have the option to sign using an SD card.
When presented with the above screen, tap "Continue" to view the QR code.
From your device, do the following:
- Scroll to "Manage Account"
- Select "Connect Wallet"
- Select "Casa"
- Use the device's back camera to scan the QR code that the Casa app presents to you
If successful, you should get a success message in your Casa app.
That's it! The next step is to learn how to do a health check using your device to ensure that the key is ready and available for use when you need it to sign a transaction in the future.
For information on how to do a health check, see Performing a health check with Passport.

