
Congrats on getting your Casa Node 2!
We're as excited as you are about this faster, sleeker gateway to the Bitcoin and Lightning networks.
If you've been using a Casa Node 1, then you know how easy connecting and setting up your node can be. Now, we've made it even easier.
Setting up
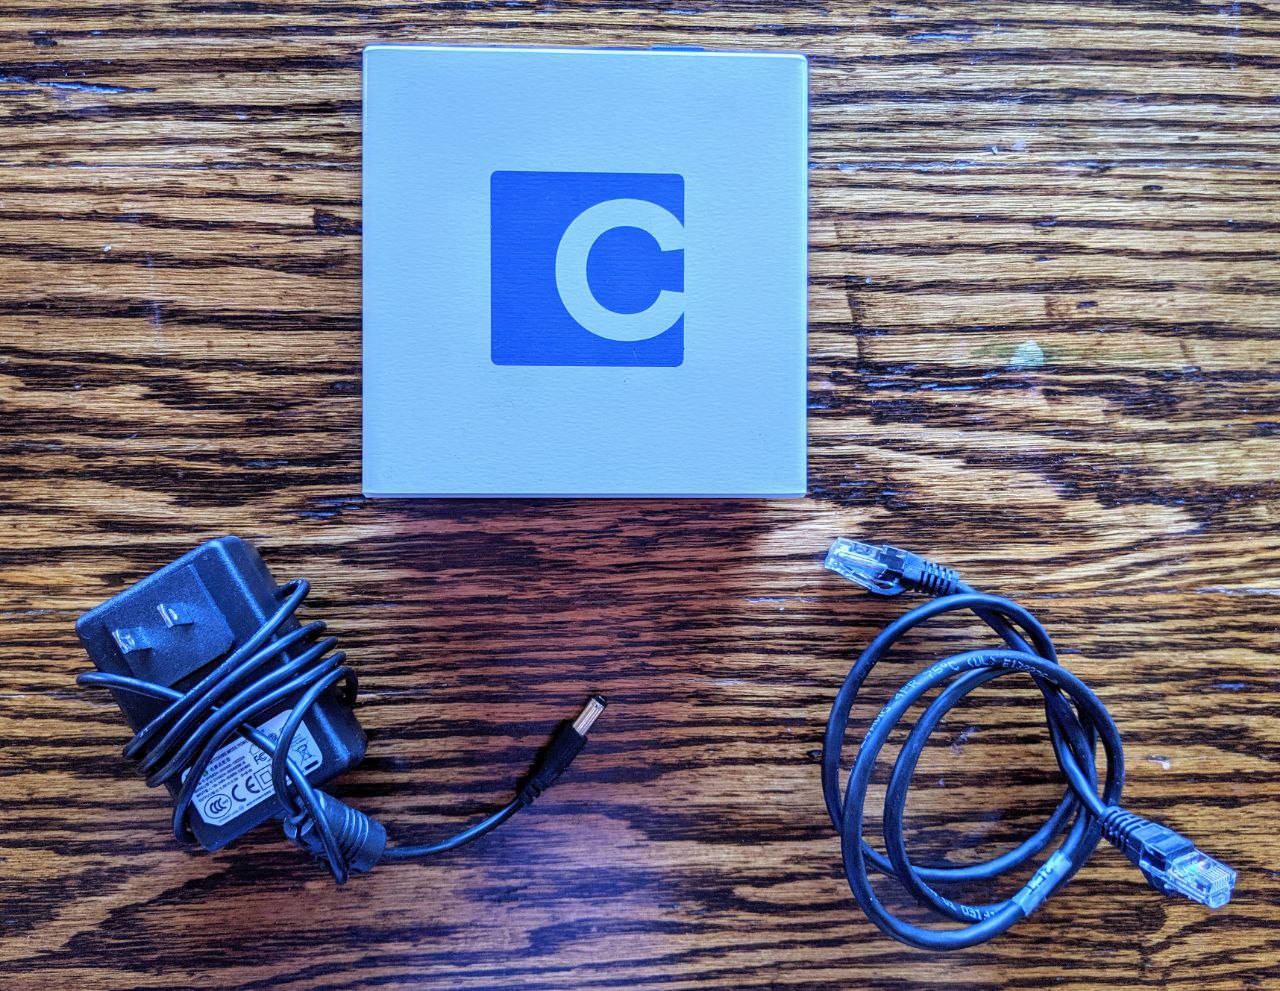
When you first take your Node out of the box, you'll notice that there are two included cables, one for ethernet and one for power.
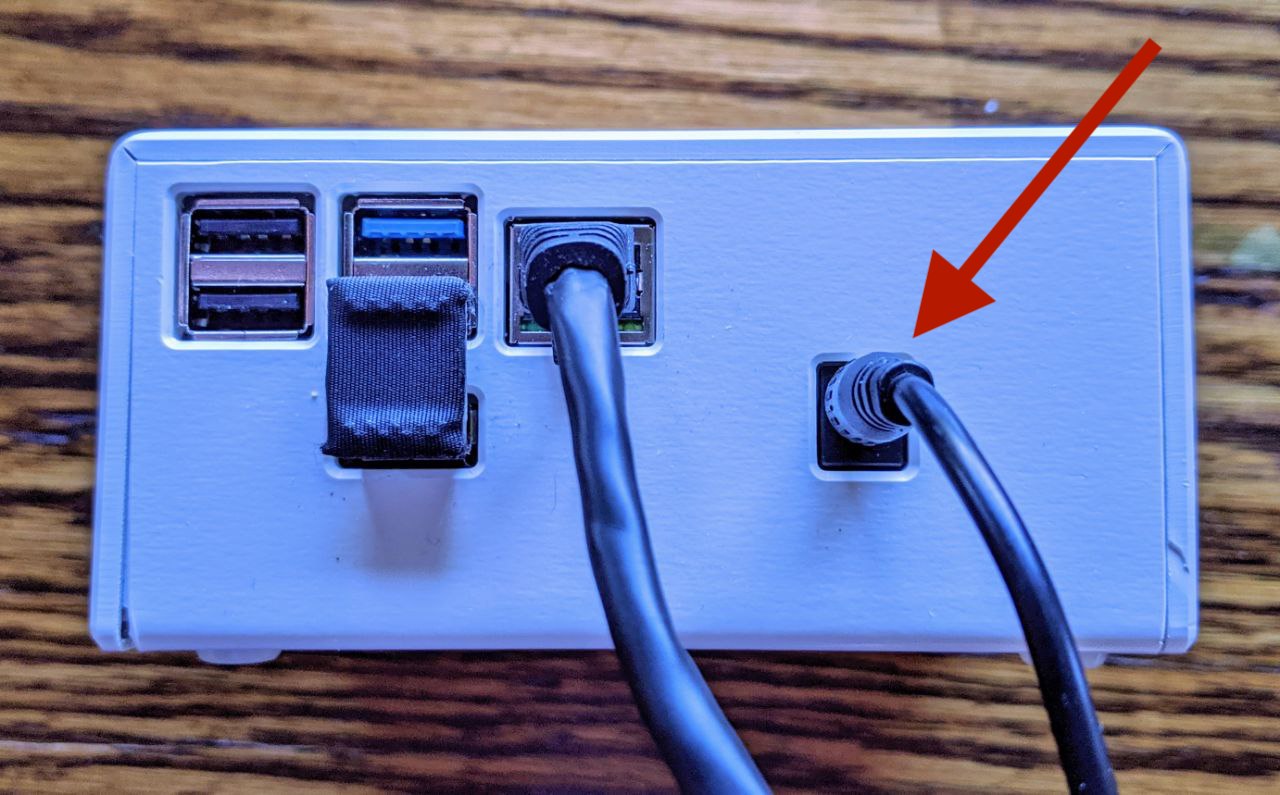
First, plug the ethernet cable into your Casa Node's ethernet port.

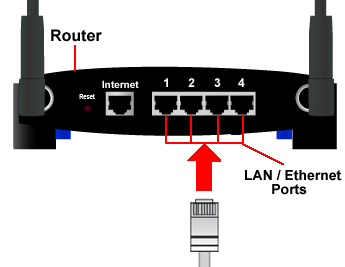
Then, plug the other end of the ethernet cable into the ethernet port on your router.
Once both sides of the ethernet cable are connected, next plug your Casa Node's power supply into an outlet.
Once that's plugged in to an outlet, connect the power supply to the Casa Node.
Your node is now powering up and connecting to your network! Note that the ethernet cable should blink a yellow or orange color in normal operation.
Once everything is plugged in and your node is booting up, we recommend waiting about an hour before attempting to access your node's dashboard. This is because the node needs some time to boot up, connect to your network, and sync with the bitcoin and Lightning networks.
Once you've waiting about an hour, you should be able to access your node by navigating to http://casa-node.local in a browser on your home computer. If you're having trouble accessing that page, you can also connect via IP address.
When you first connect, you'll be prompted with a suggestion that you connect via Tor, which we recommend for maximum privacy. Every Casa Node 2 comes with Tor connections enabled right out of the box.
Not sure what Tor is? See our Tor explainer.
To connect to your node via Tor, you'll need to download a Tor browser here. When you open the Tor browser, simply take the Tor connection code you copy from the setup window, and paste it into your Tor browser.
Connecting via Tor browser also allows you to connect to your node from anywhere in the internet-connected world! Note that while we recommend connecting via Tor, you can still access your node without using Tor, as long as you're on the same network as your node. So if you don't want to download the Tor browser at this point, you don't have to. You can use a standard browser.
Next, you can choose to set up your seed phrase. It's very important that you write these words down and keep them safe and secret. They're your backup for the bitcoin on your node!
We recommend setting up your Casa Node 2 as a completely new device. That means if you have a Casa Node 1, you should not enter the seed phrase from your Casa Node 1 into your Casa Node 2. The Casa Node 2 should have a new, fresh seed phrase backup!
Please note that the backup seed phrase you write down will restore BTC funds on your node in the event of a node failure, but it will not restore funds that you put into Lightning channels.
Lastly, you'll set up your password. We recommend generating and saving your password using a password manager.
You must also ensure that you do not lose the password to the Casa Node. Casa does not have the ability to assist you with a password reset if you forget it.
If you forget your password, you will need to factory reset your node, which may result in loss of Lightning channel funds.
You're all set! You're now accessing the bitcoin and Lightning networks through the Casa Node 2.
What next? Deposit some bitcoin to your Node!

