
We are currently sold out of Casa Nodes and have no plans to manufacture additional units.
We have open sourced the node and posted instructions on how to build your own! However, note that this is no longer recommended and we suggest you find an actively maintained node project to run.
As noted in our 2020 roadmap blog post, we're planning on focusing on our multisig self-custody software and as a result want to open up the Casa Node to the wider community. Before today, it wasn't feasible for anyone to build a Casa Node with their own software, but now you can duplicate the same process we used to manufacture nodes! This guide does assume you have a bit of technical expertise and it will take most people a couple hours to complete.
Prerequisites
- USB keyboard
- External monitor with HDMI input
- Internet router with an open ethernet jack
- Magnetic small/mini/precision Phillips head screwdriver
Purchase these parts:
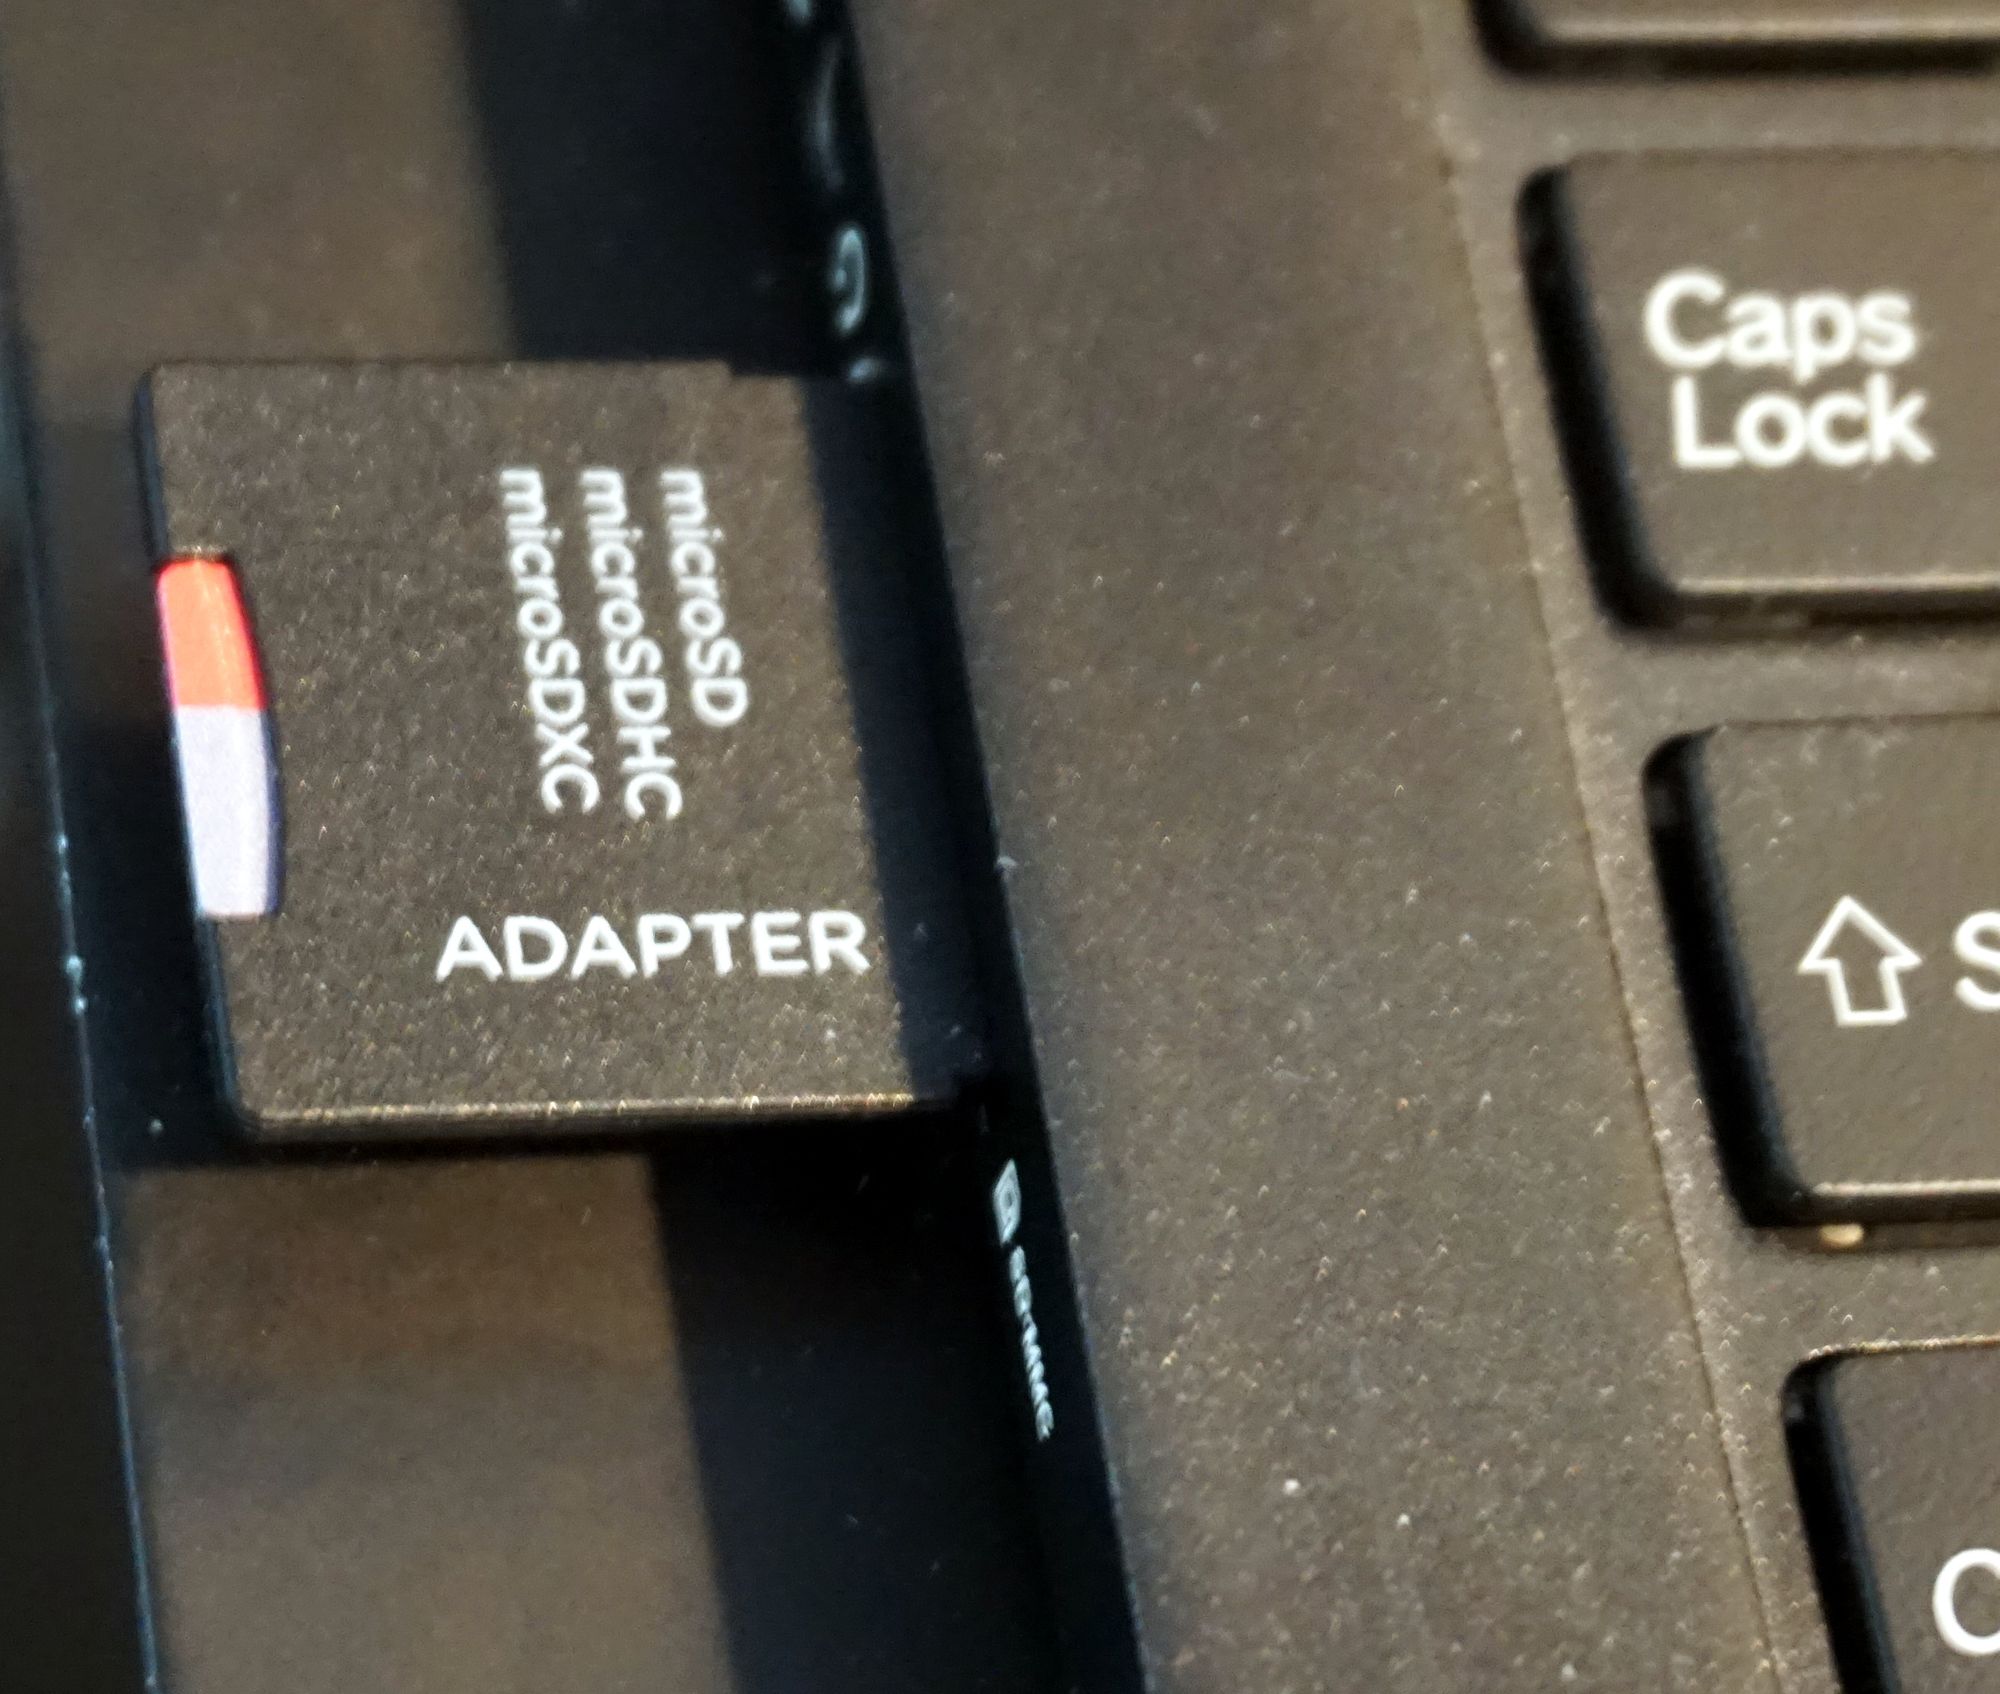
A MicroSD USB adapter if your computer doesn't have an SD reader
Case selection
There are two main options for cases and each has its own trade-offs. The original custom designed Casa Node case was created with the intention of avoiding the need for a USB cable that connects the hard drive to the Pi; instead it uses a small USB bridge to connect an expansion board that is used to mount the hard drive. You can duplicate this setup using Geekworm's case.

If you choose this option, you'll need to buy:
Sandisk 1 TB internal SSD or 480GB SSD (node uses 350GB at time of writing)
Power adapter (note that this is different than a normal Pi power adapter)
Software Setup
- Download the Casa Node OS disk image
- Open the microSD card package and use an adapter to plug it into your computer
3. Extract the .img file from the gzip archive
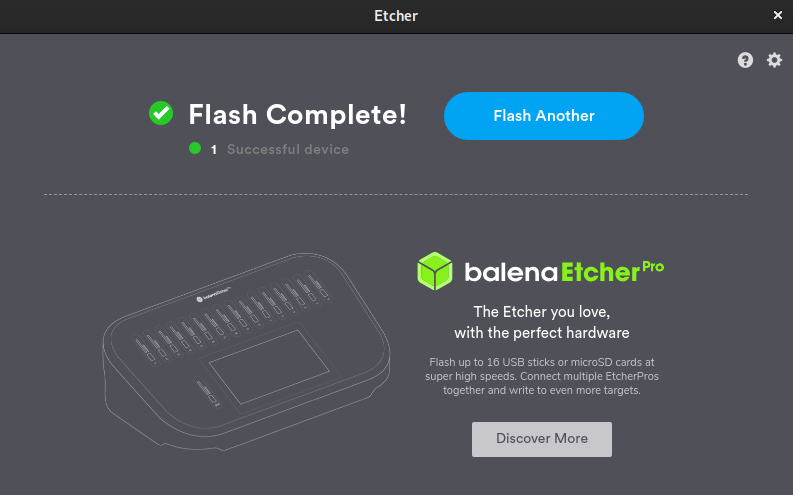
4. Flash the Casa Node OS image to the SD card using a flashing software such as Etcher
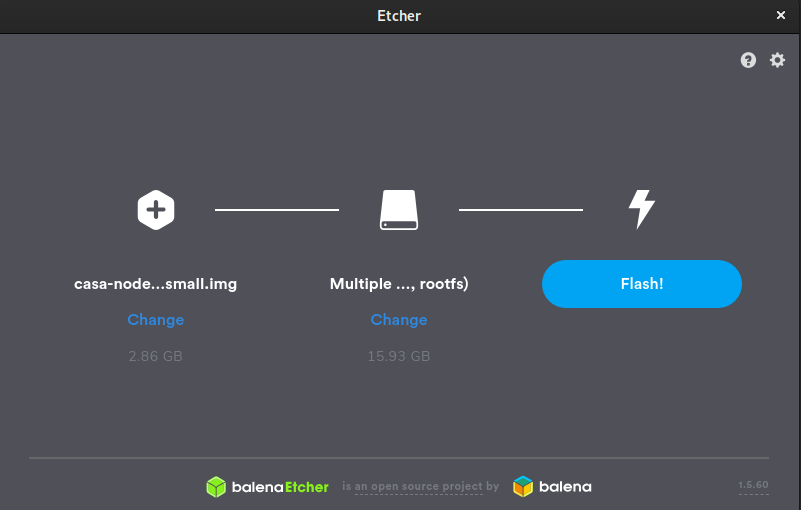
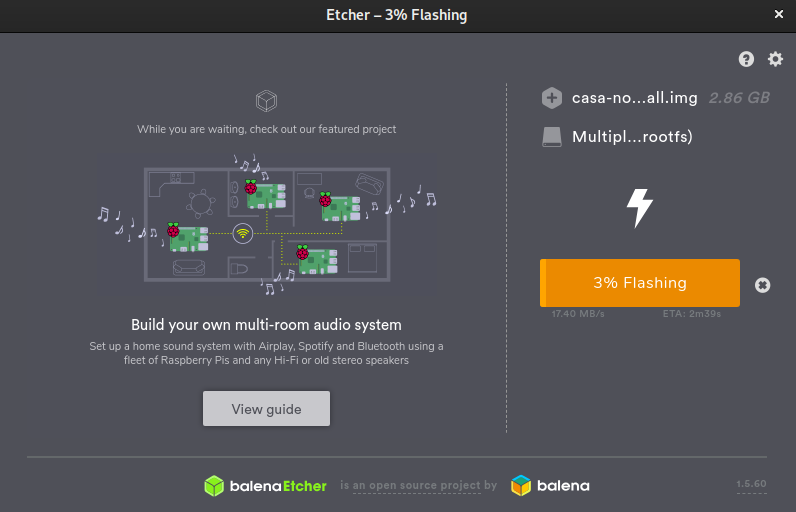
It should take about 3 minutes to flash the SD card and another minute to verify it.
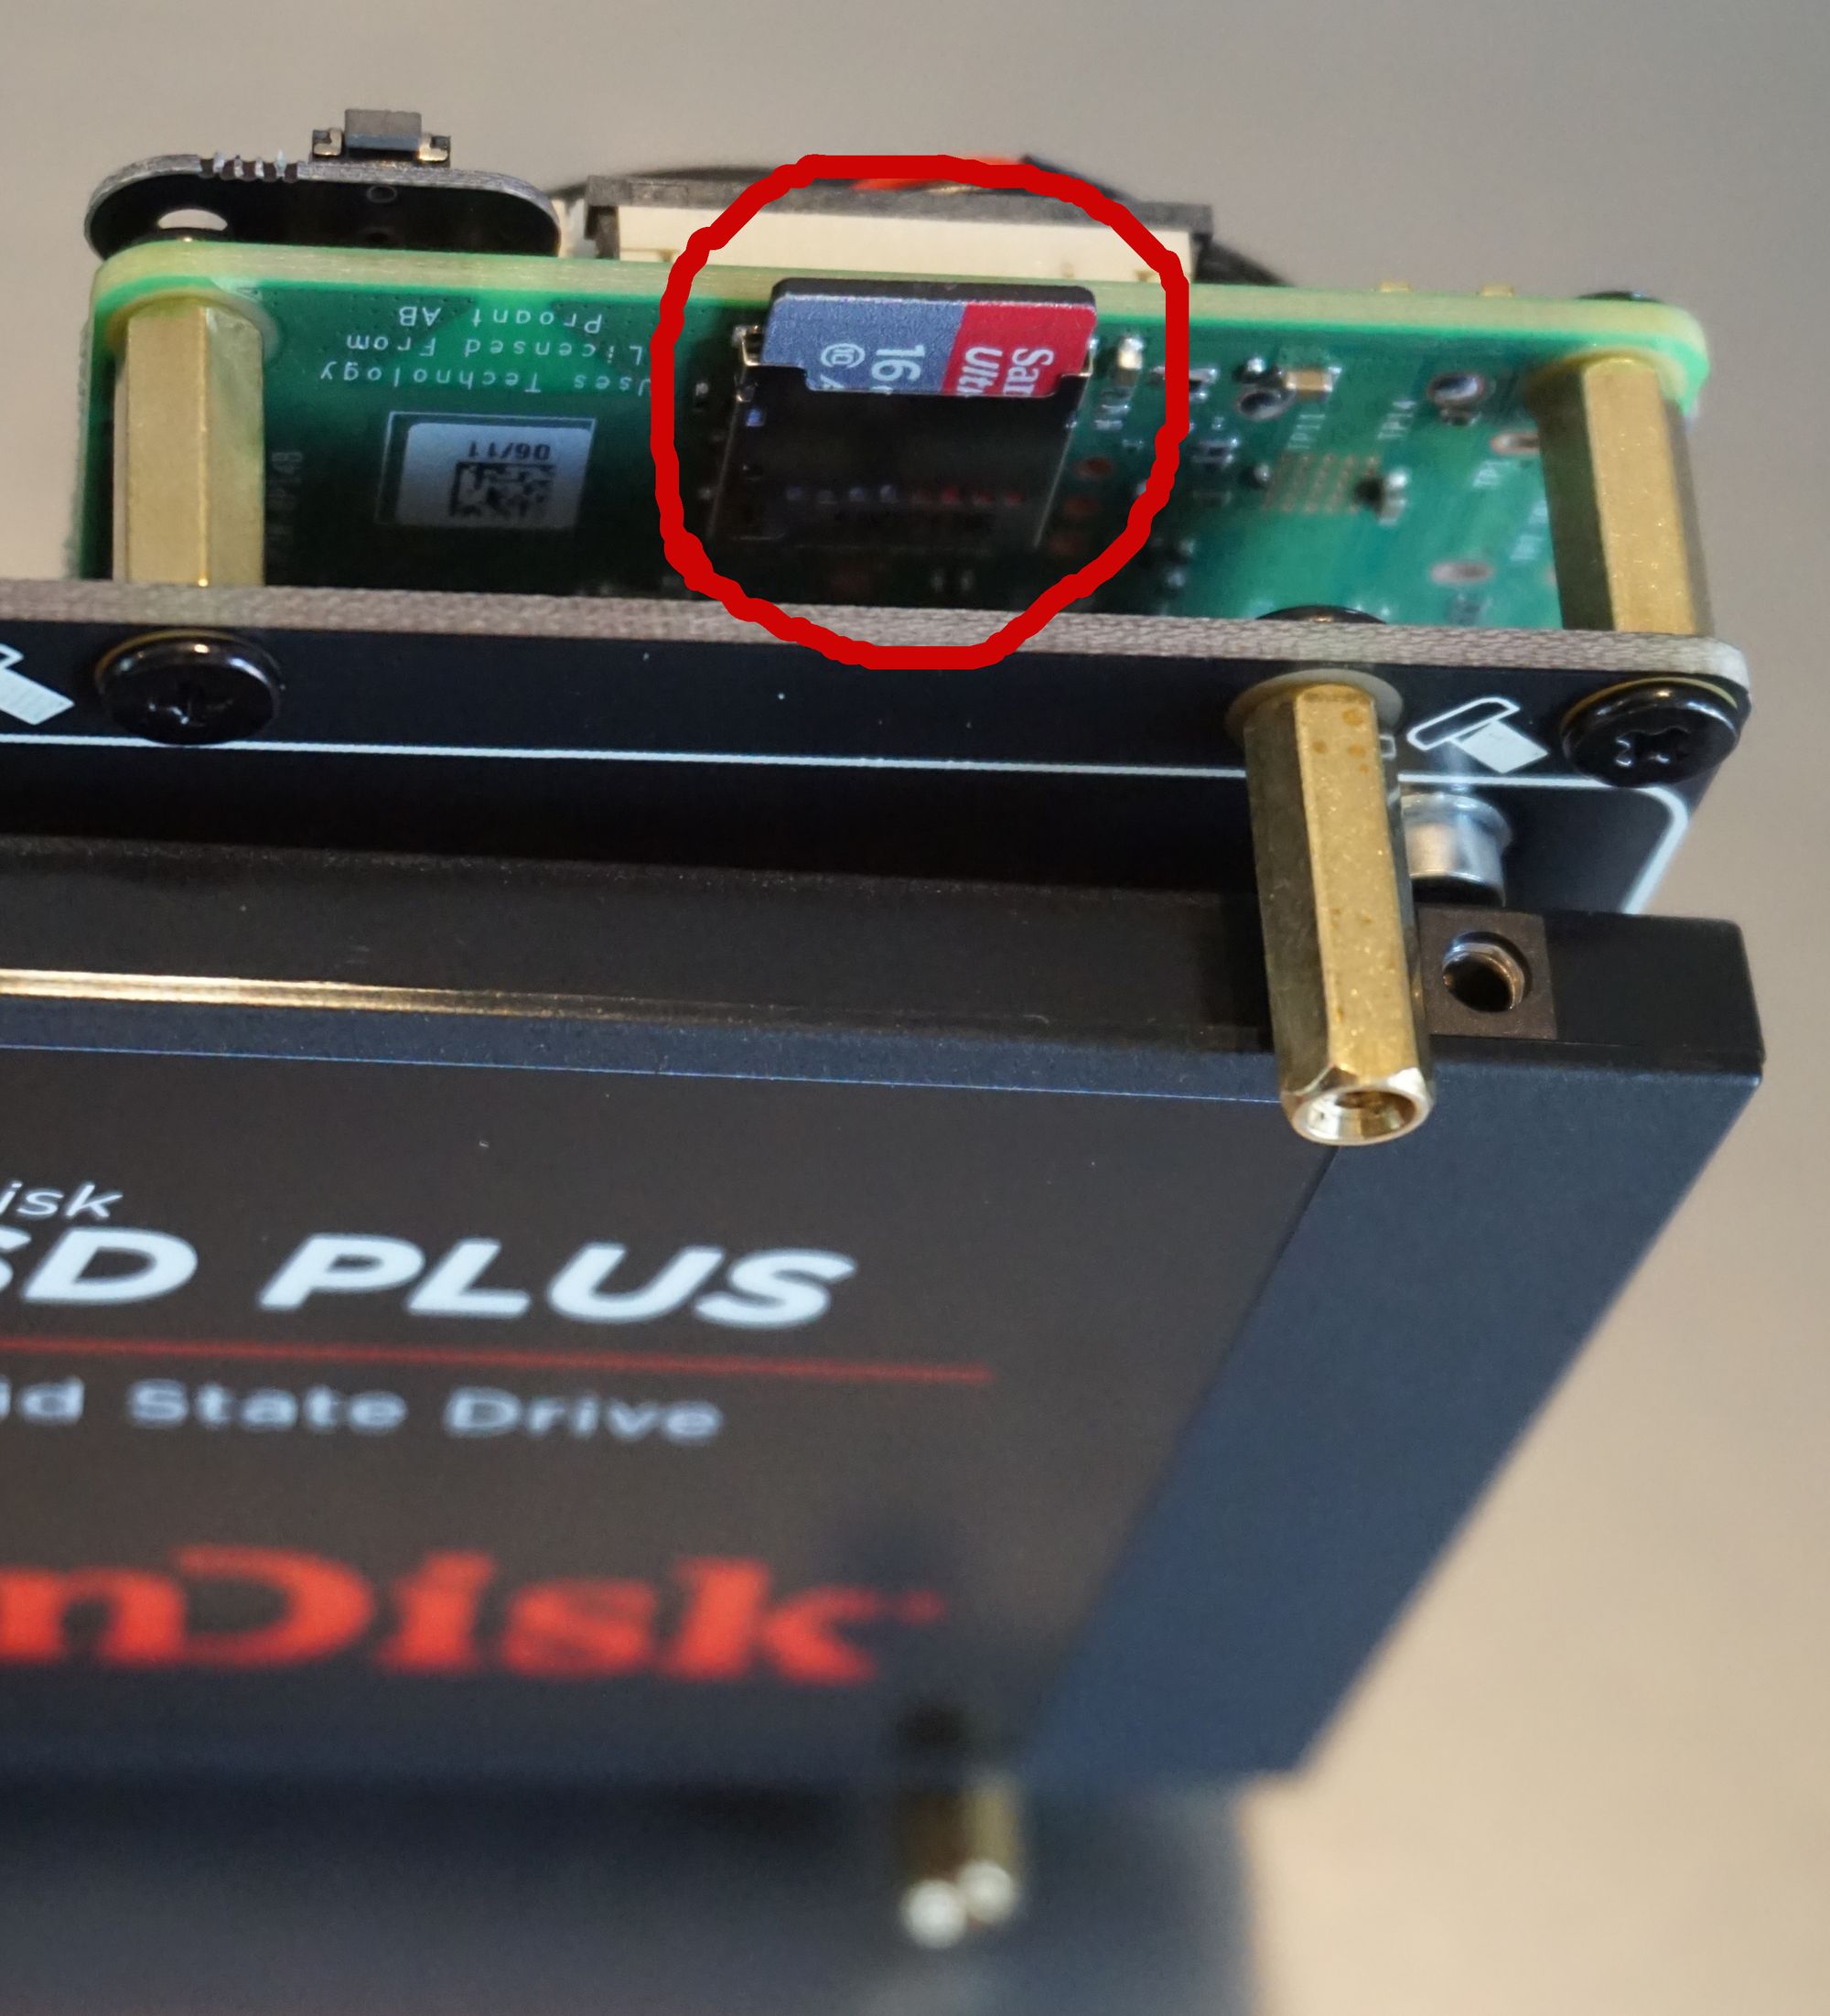
Insert your microSD Card into the card slot on the raspberry pi. It goes into the small black slot on the bottom, back side of the pi.
Hardware assembly
When you're handling the exposed hardware, make sure to take steps to avoid damaging it via static electricity discharge.
Unpack all of the parts from their shipping boxes.
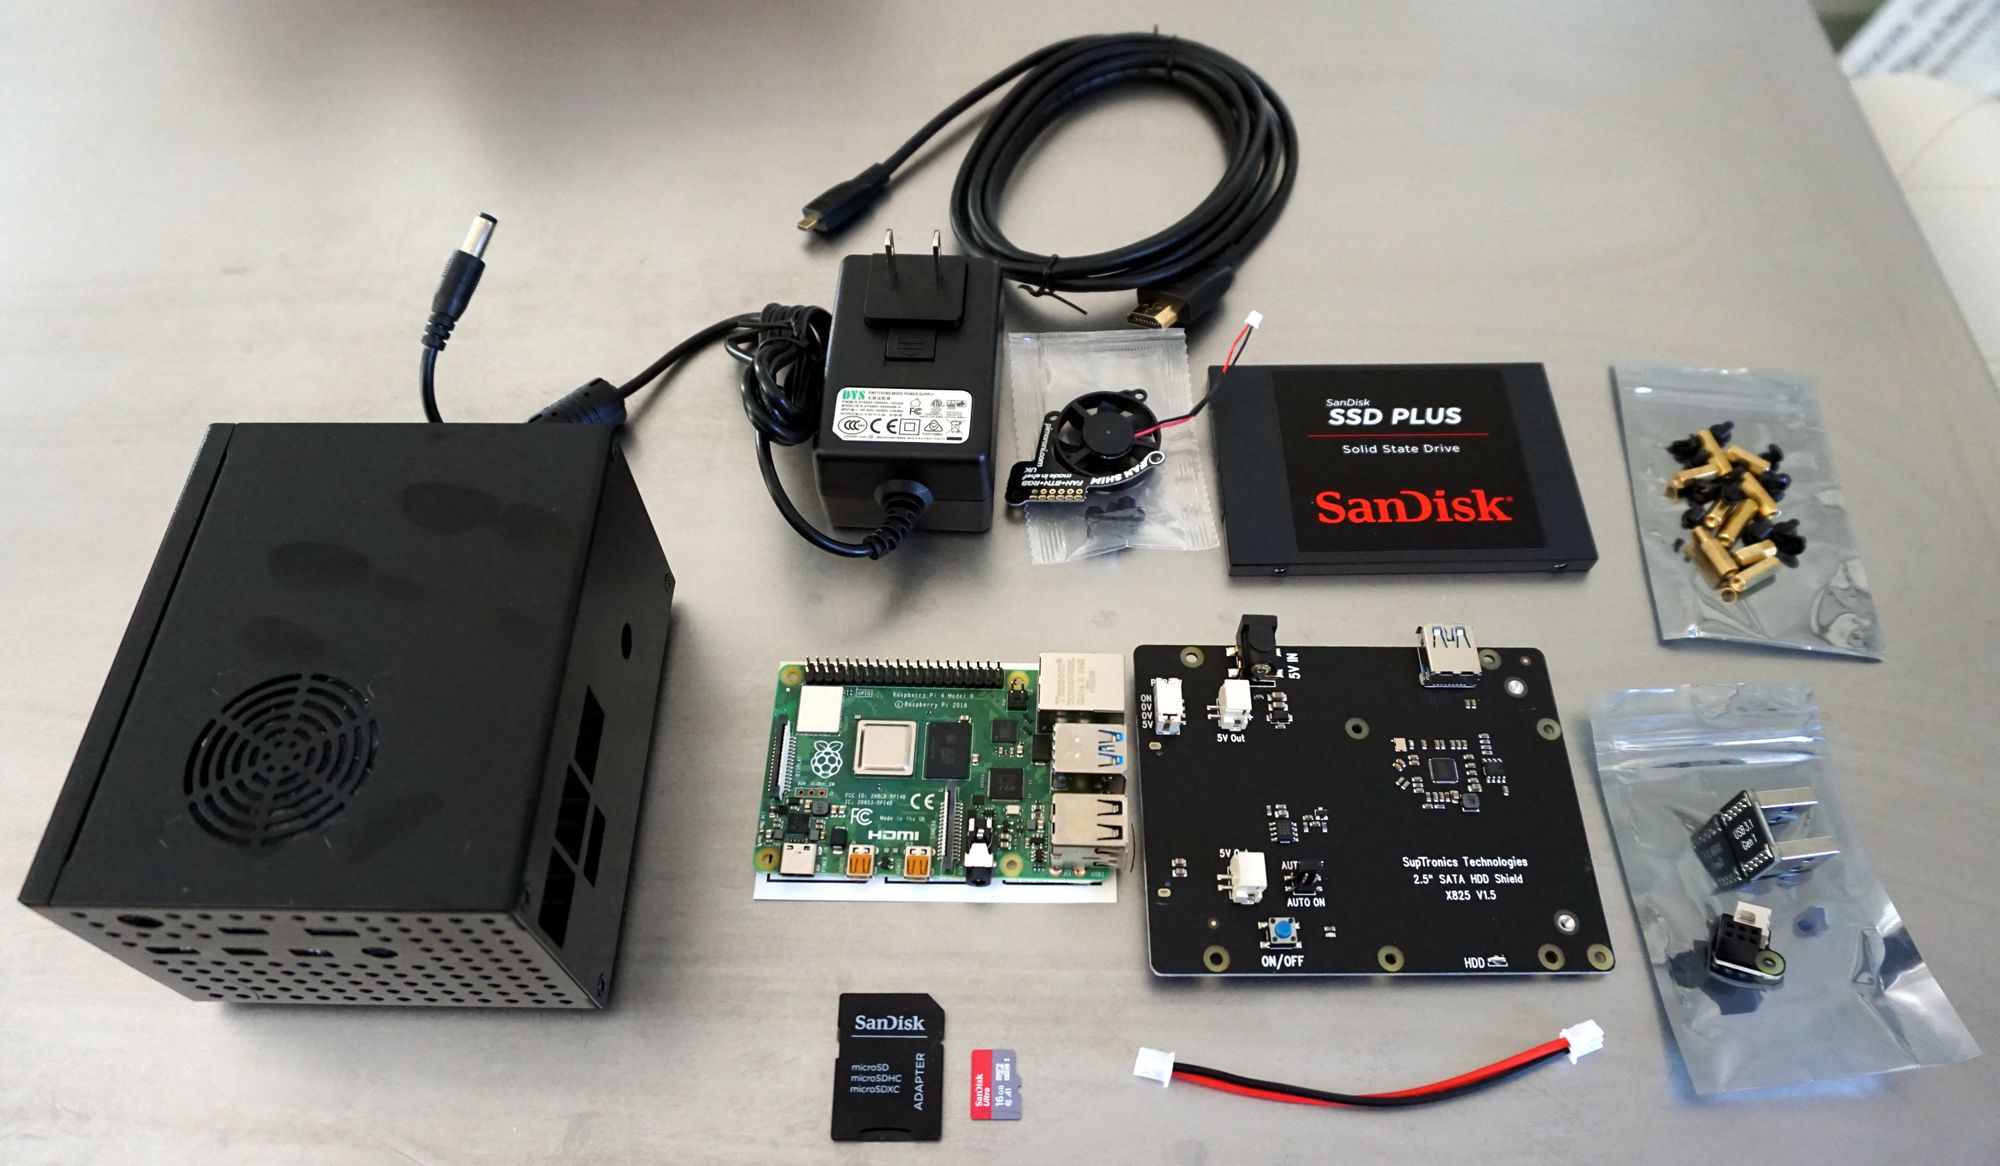
Assemble the expansion board, hard drive, and Raspberry Pi per this guide or this video:
NOTE: The Casa Node doesn't use a power management board; ignore those instructions.
NOTE: Don't install the USB bridge until later, after the pi is mounted inside the case.

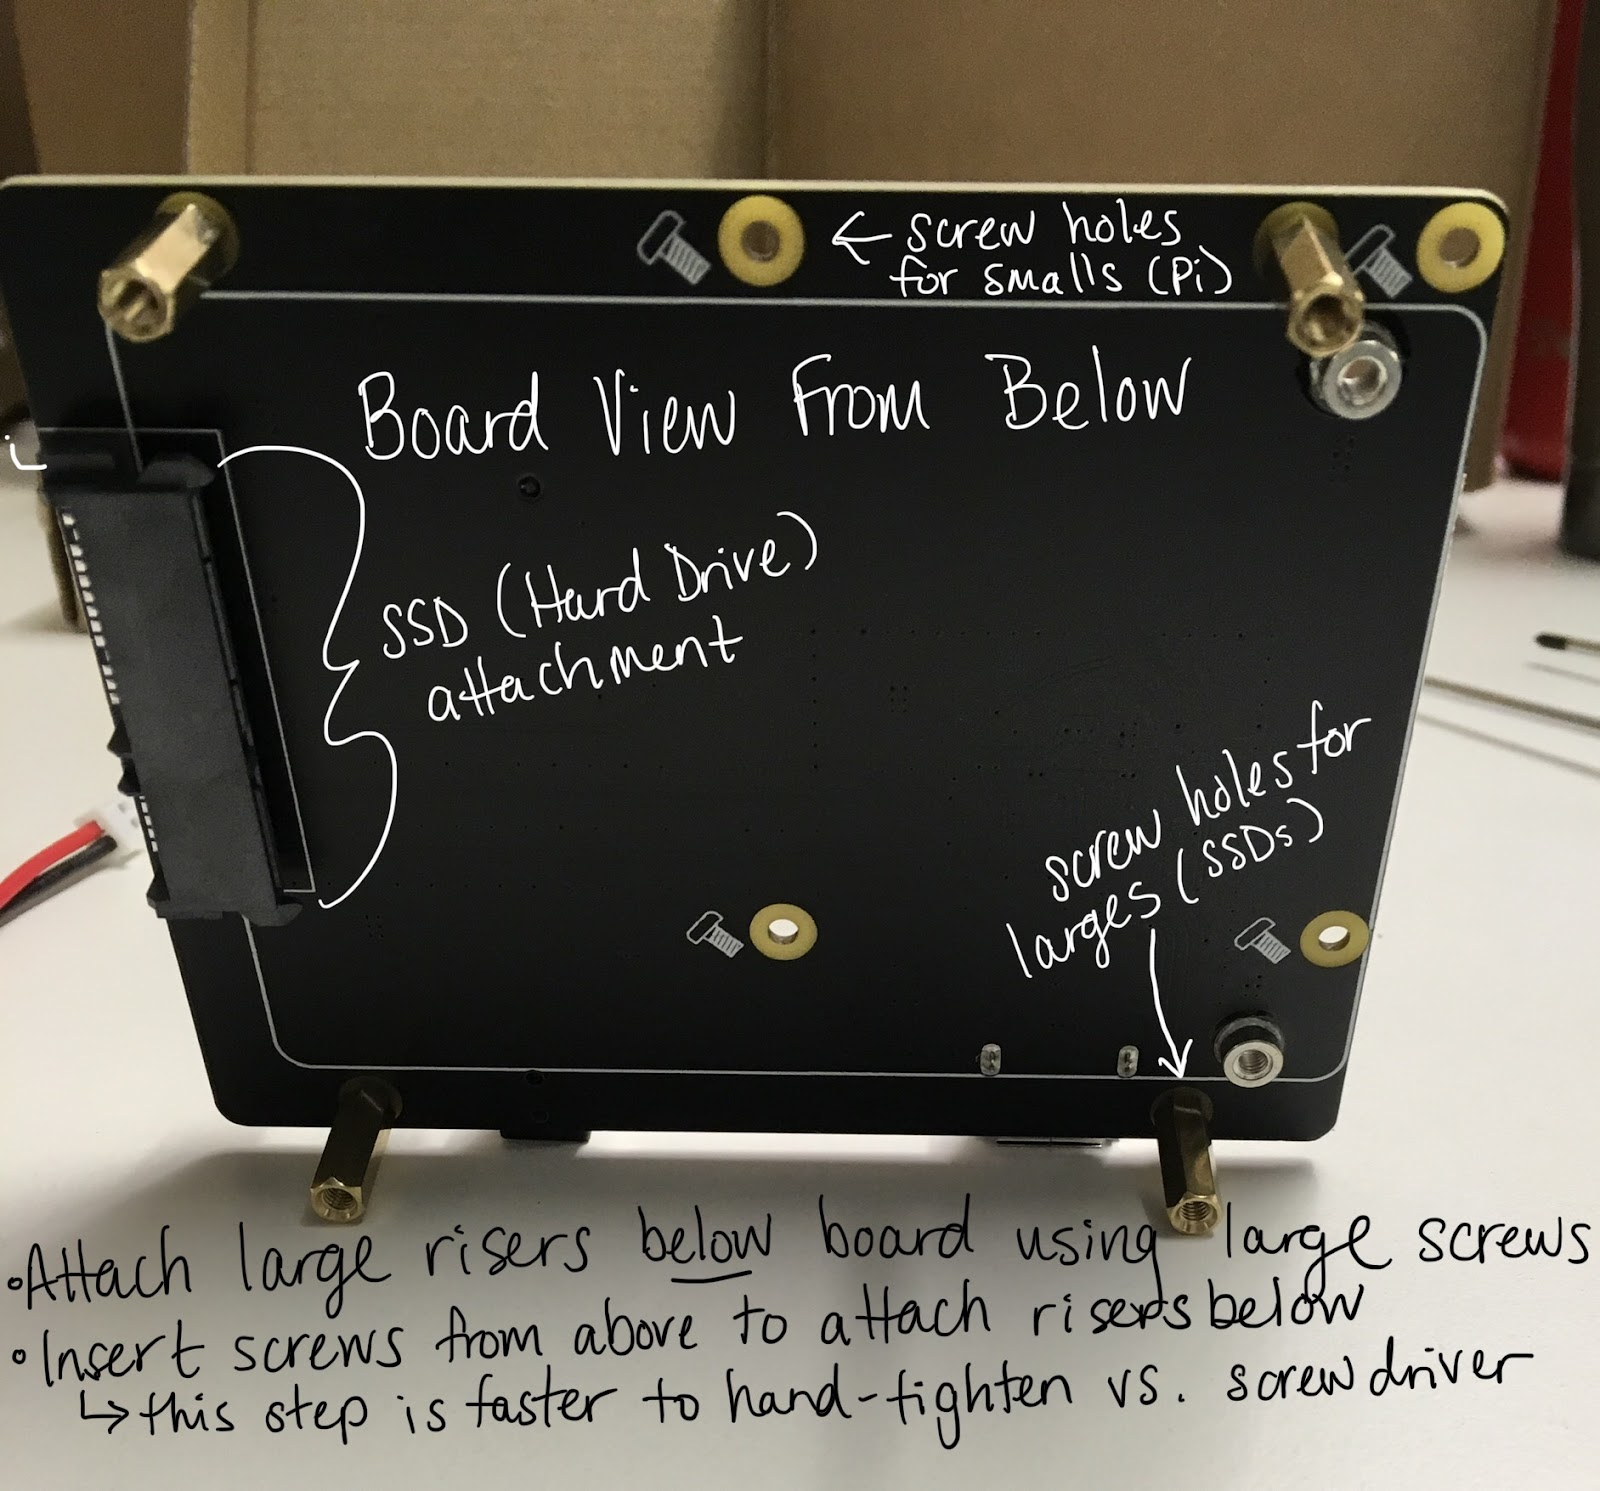
Expansion board assembly
Use four large screws that came with the board and four large (longer) risers so that the risers are on the SSD side of the expansion board. Check if your enclosure came with a different length of risers; you'll need to use those instead if they don't match. Flip the expansion board and insert 4 small screws that came with the board and 4 small(short) risers, so that the small risers are mounted to the other side (the non-SSD side.)

Insert SSD into the expansion board and mount using two remaining large black screws. Make sure you press the drive toward the board to ensure the screws go into the threads.
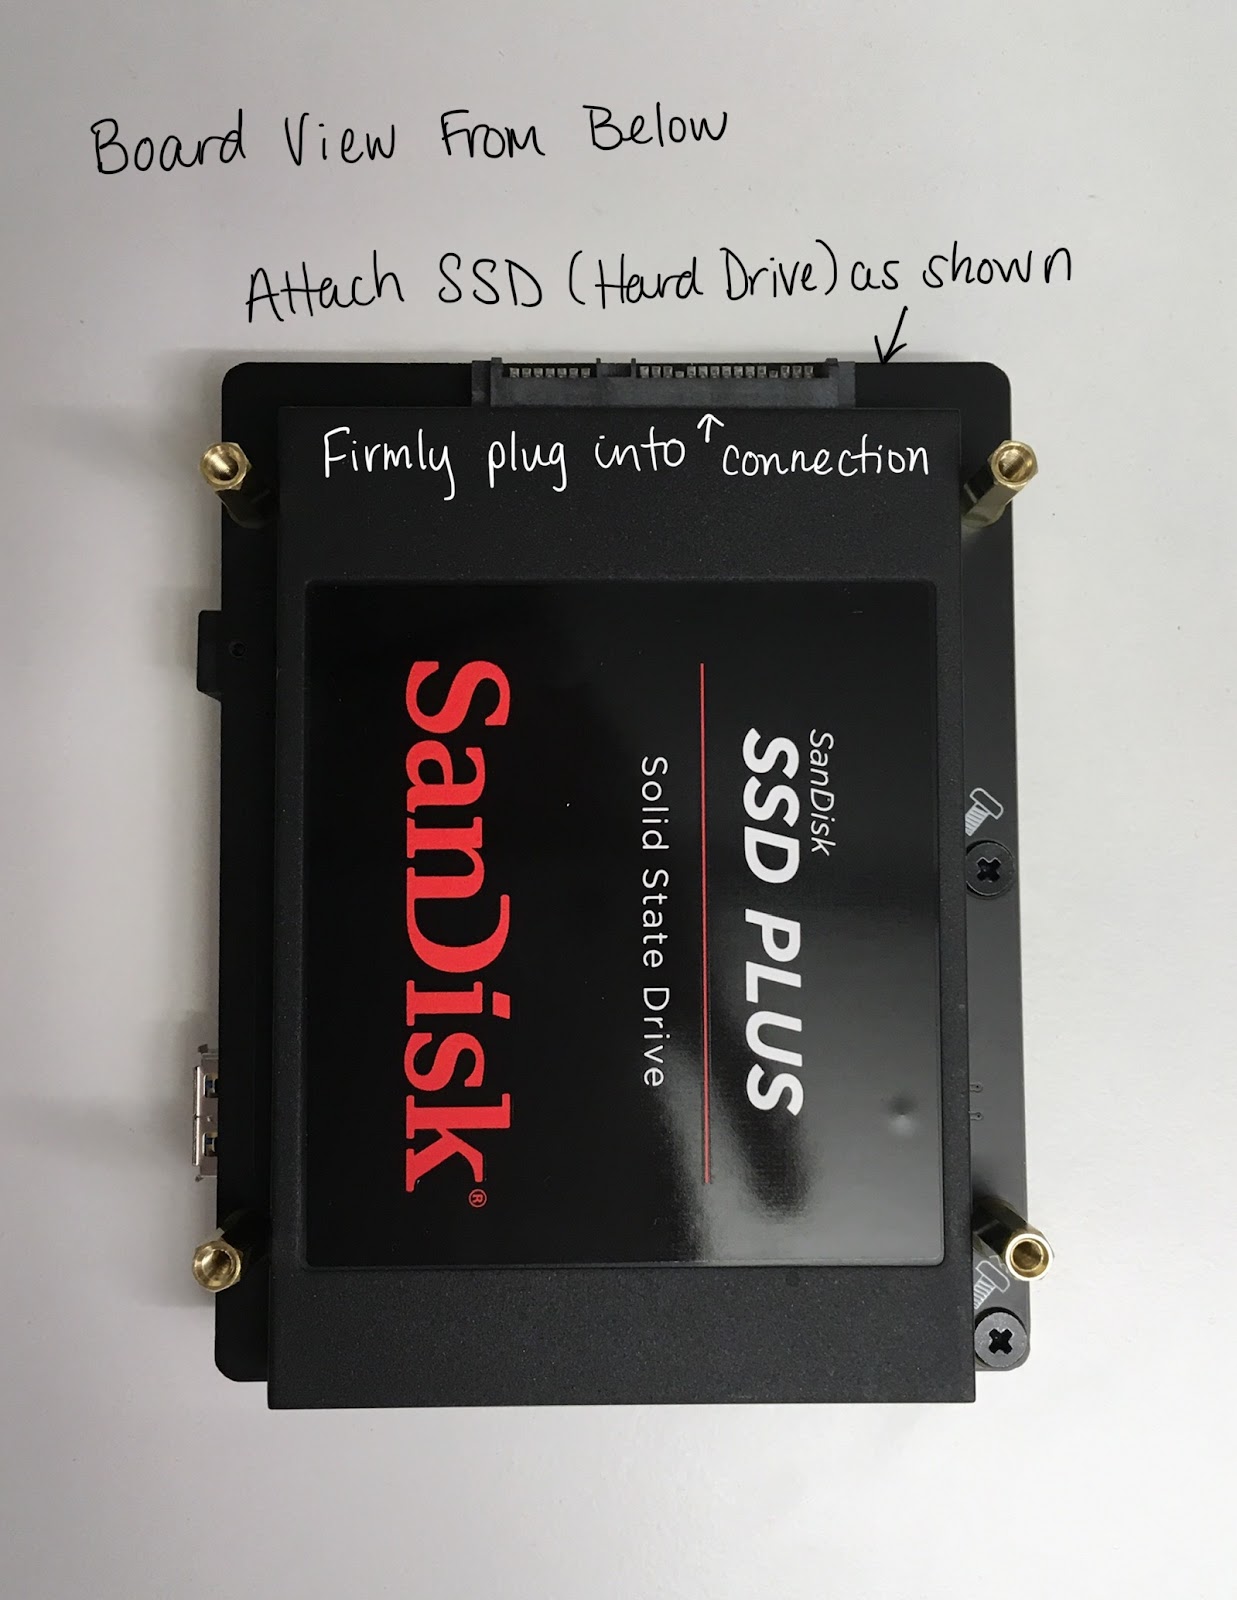
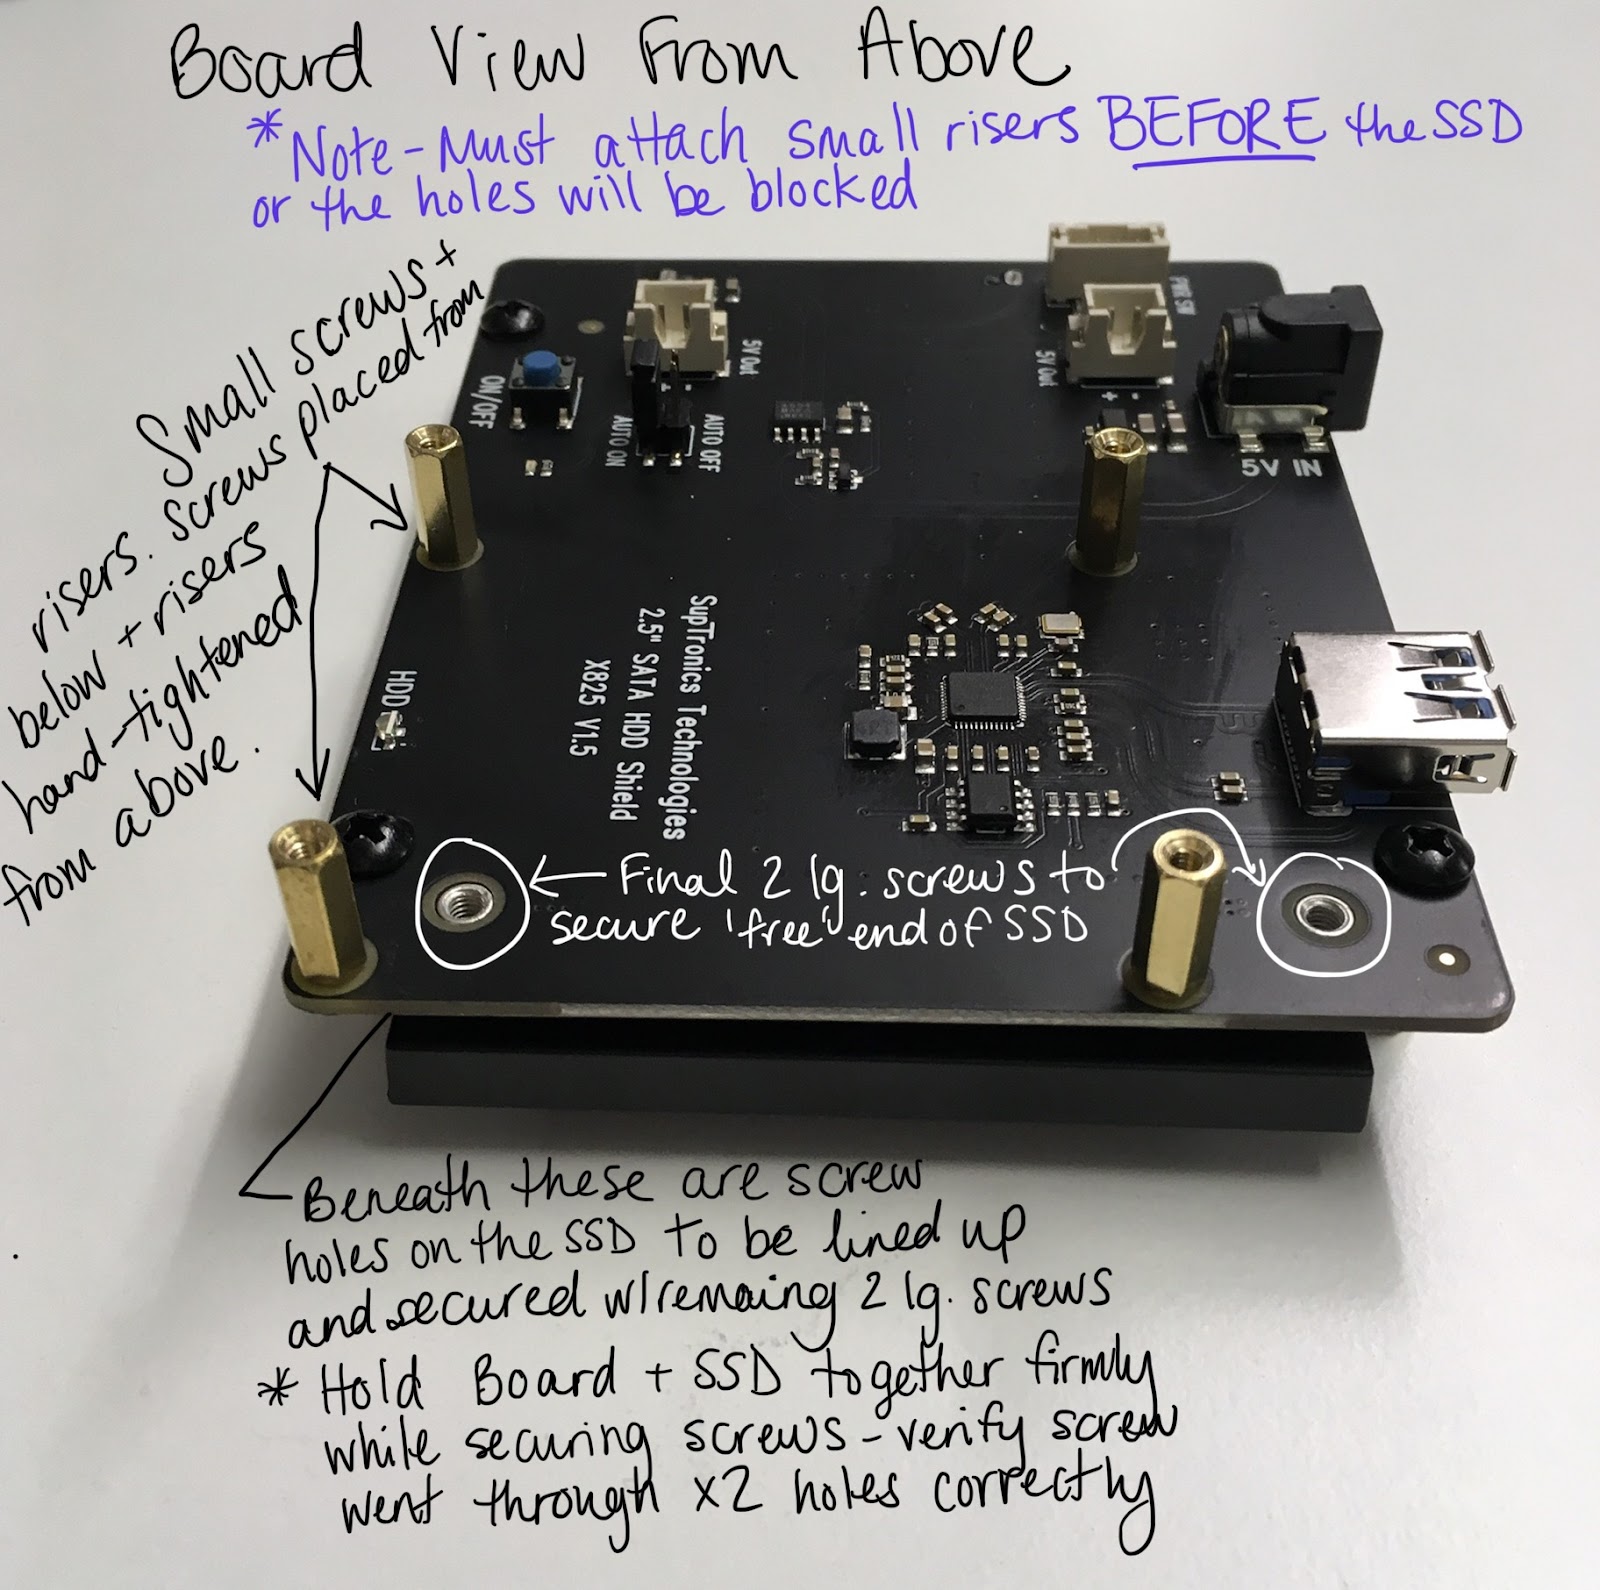
Double check that there is no gap between the SSD and its mount points.

Use four remaining small black screws to mount the Pi to the non-SSD side of the board with USB ports face-up.

Fan assembly
Mount the fan shim per these assembly instructions or this video:
NOTE: You don't need to perform the software installation instructions.
You'll probably have an extra nylon nut and bolt left over; you can throw them away or keep them for future projects!
Make sure you get the fan shim on the correct pins and that you don't accidentally shift them over one pin to the left or one row down, or you're highly likely to damage your fan and possibly your Pi.
It's also possible that the case you purchase comes with a fan; you can throw the case-supplied fan away.
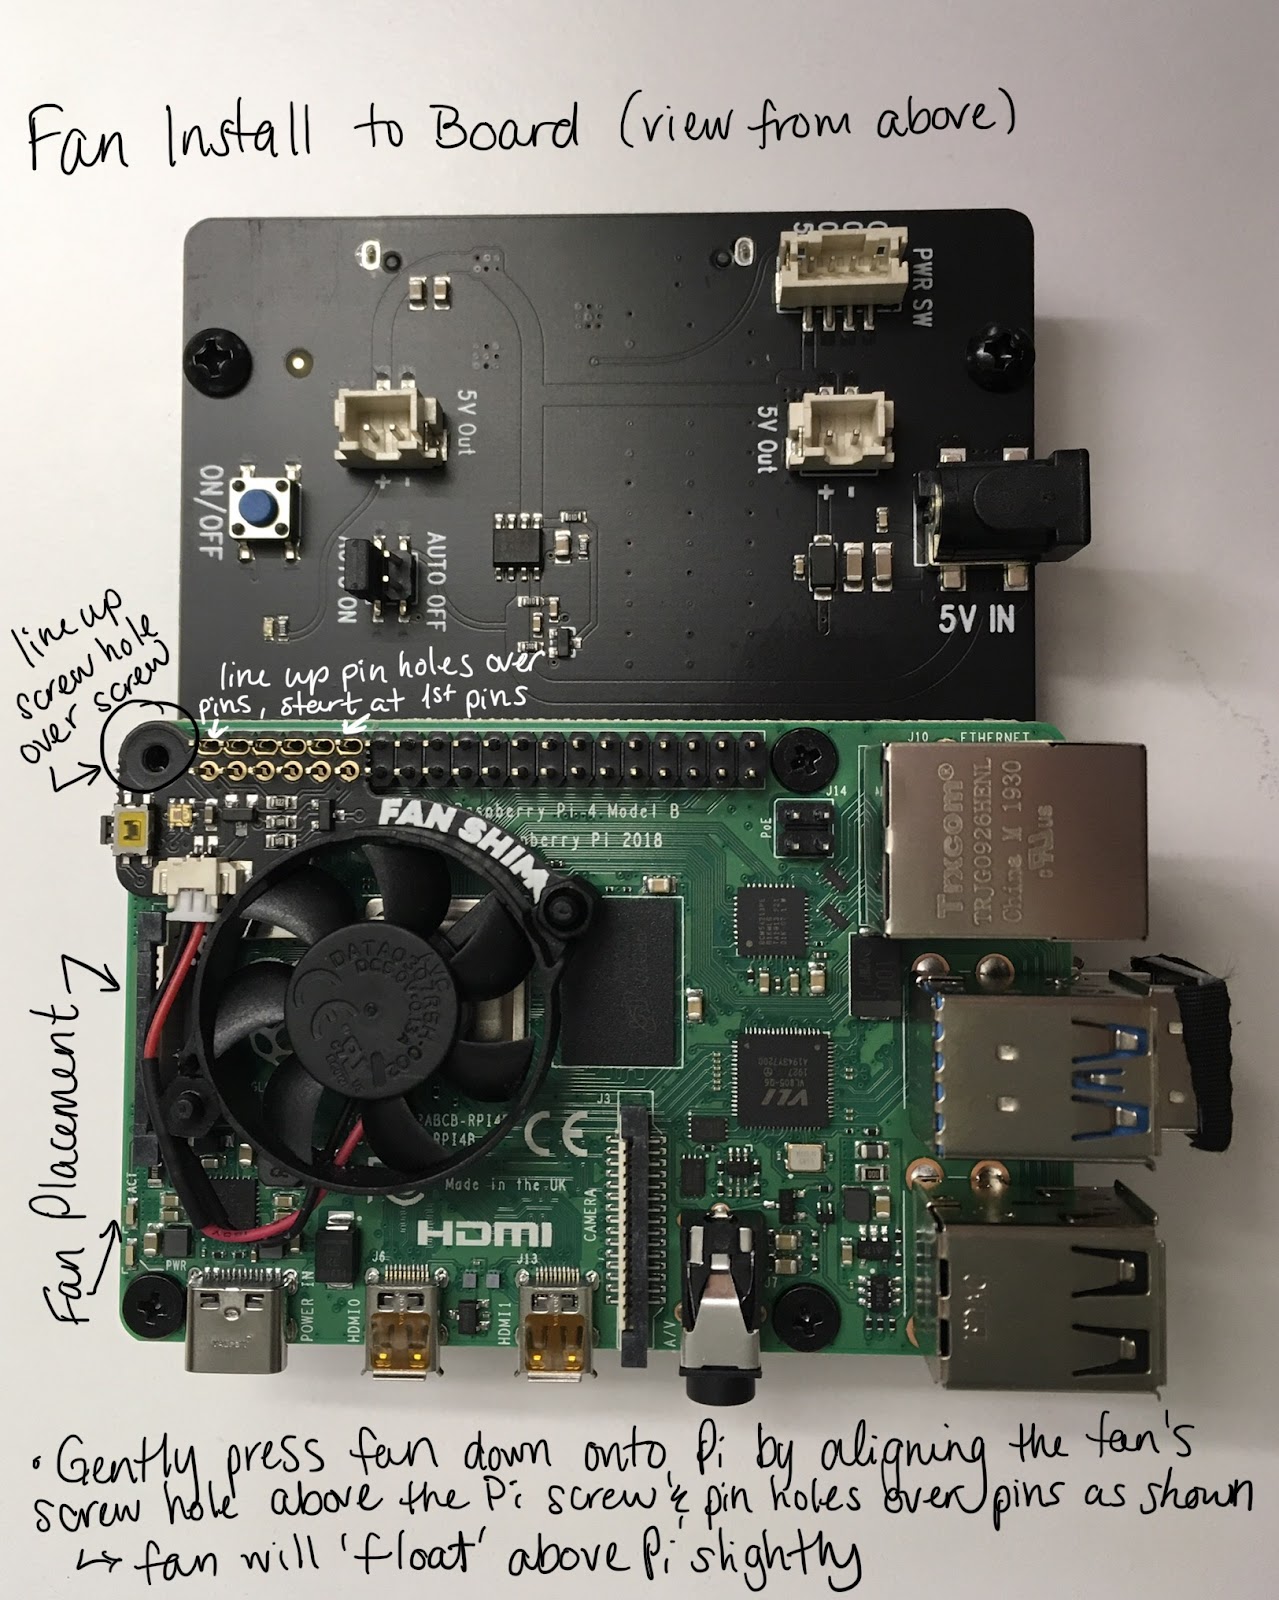
If you're using the expansion board, now you can connect the power cable between the pi and the board. Connect the power cable so that the red cable is away from the side with the USB ports. As seen in the image below, the cable plugs into the pins one row down and one row to the right.

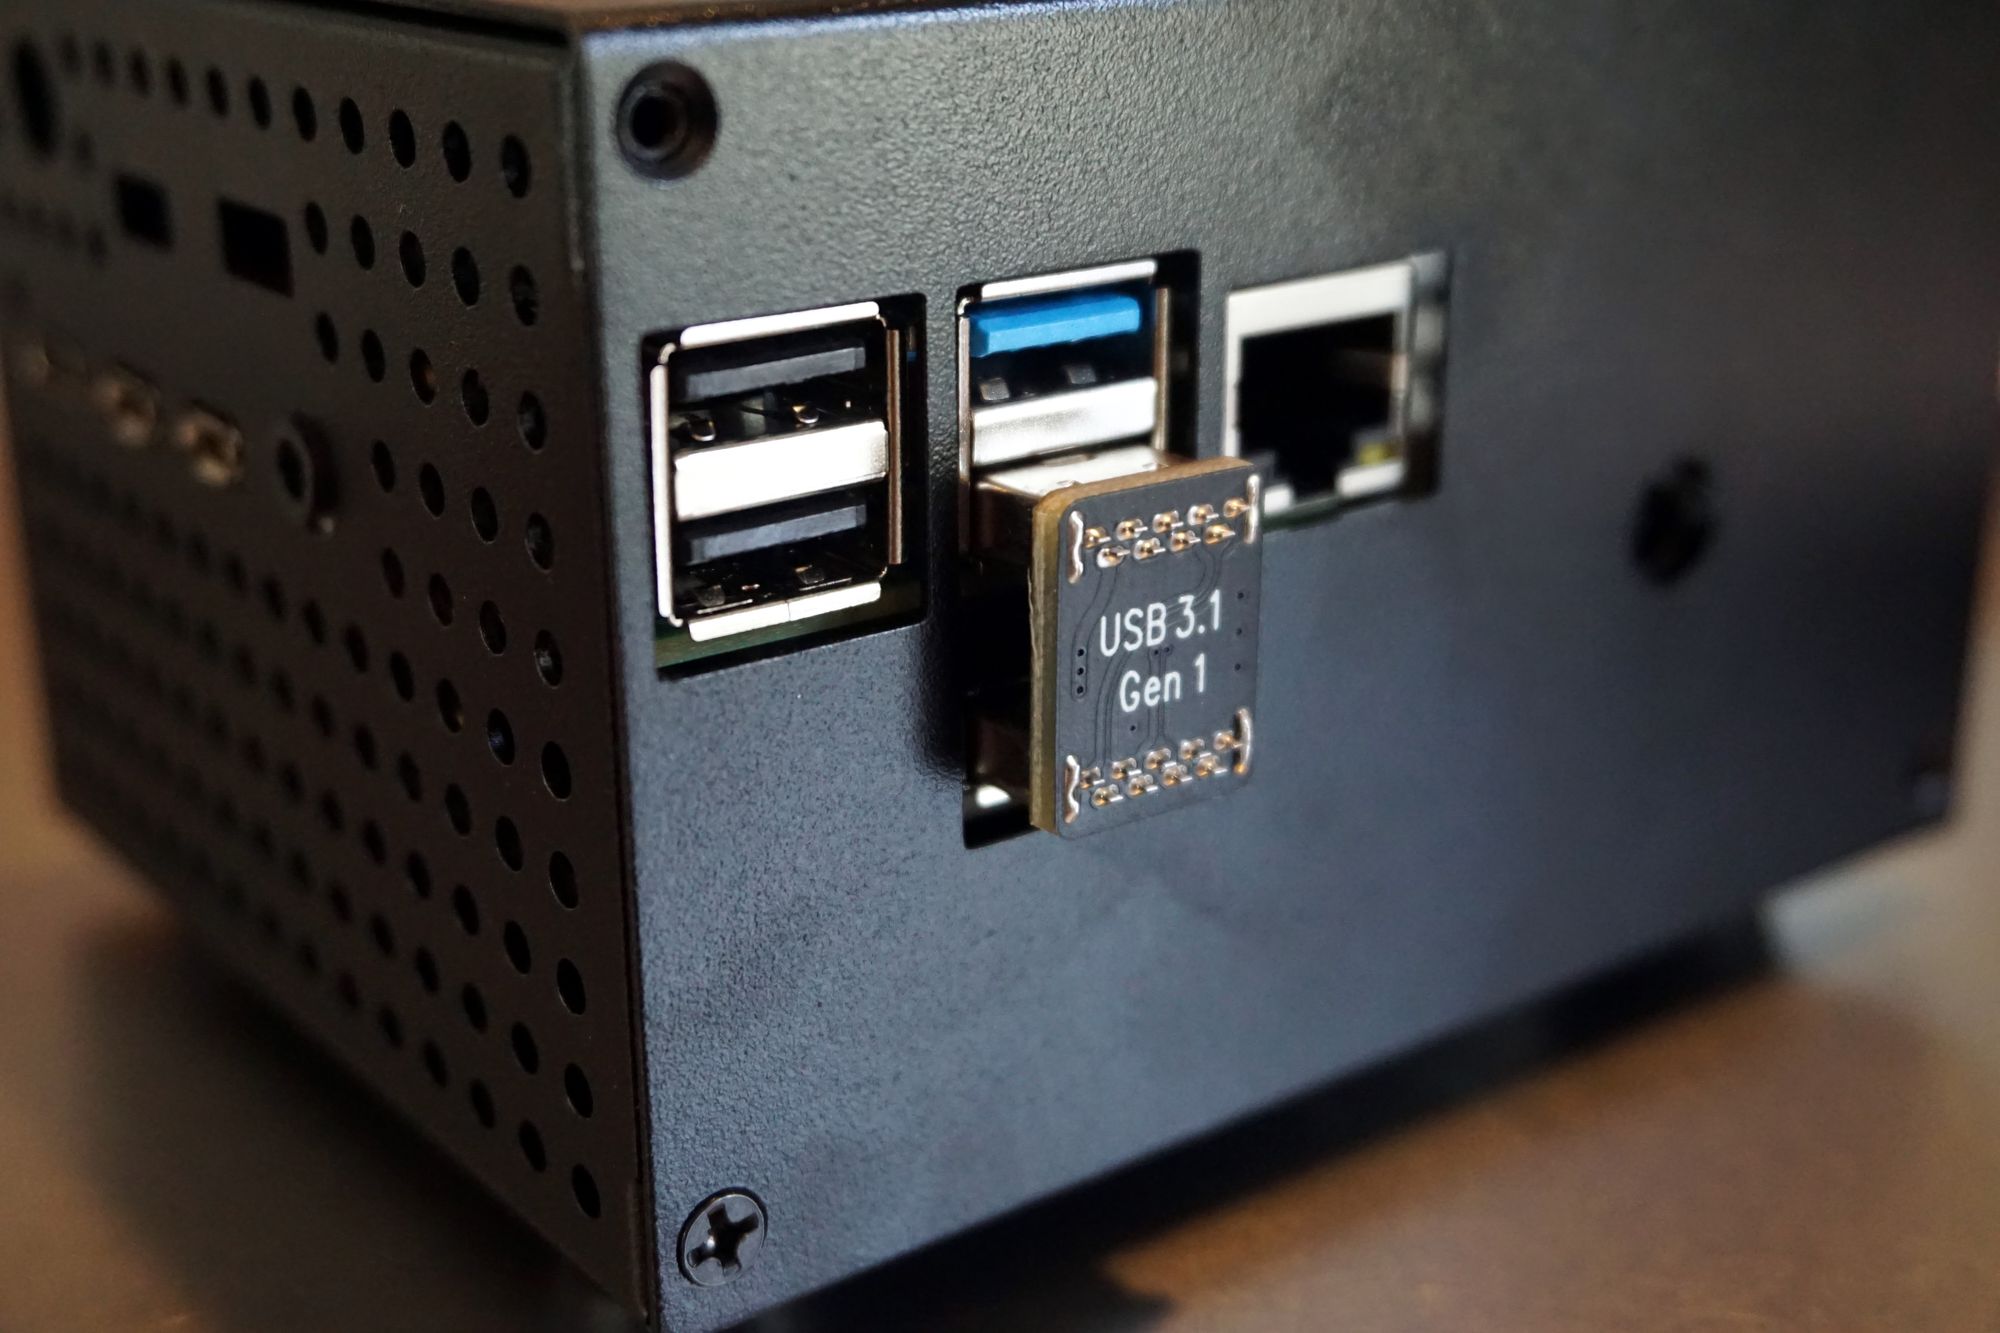
At this point your hardware is fully assembled and ready to be mounted inside of its case. Follow the case-specific instructions and hardware to do so. Note that if you case comes with a power button you can skip any instructions for connecting it to the Pi; by moving the jumper on the expansion board you have ensured that the node will automatically turn on when it's plugged in. Once you have mounted the hardware in the case (via screws that go into the case standoffs) you can then insert the USB bridge between the Pi and the expansion board as pictured here:
Powering up the Node
- Plug in your USB keyboard
- Plug in your monitor
- Plug in the ethernet cable and connect it to your network router
- Finally, plug in the power cord
The node will turn on automatically when the power cord is connected. The automatic installation process should launch after a few seconds - you will see the process on your monitor. The node will reboot several times during this process.
On the first boot the node will set up various operating system configurations and format the hard drive. This only takes a couple minutes.
Then it will reboot and download the docker images, which takes about 10 minutes depending upon your internet connection. It will then run hundreds of QA checks to ensure that the installation worked as intended, which takes less than a minute. When the process completes successfully you will presented with the results of QA and another prompt asking whether or not you wish to "ship" (finalize) the device.
If you type no, hit ALT-F1 to return to a login prompt and log in with username and password of "casa." You can examine the results of the QA tests: more /tmp/inspec-tests.results. When you're ready to try installing again, run the build.sh script and ship the node.
If you type ship, the node will shut down. After the monitor goes black, pull out the power cord from the node for a few seconds and plug it back in.
Running your Casa Node
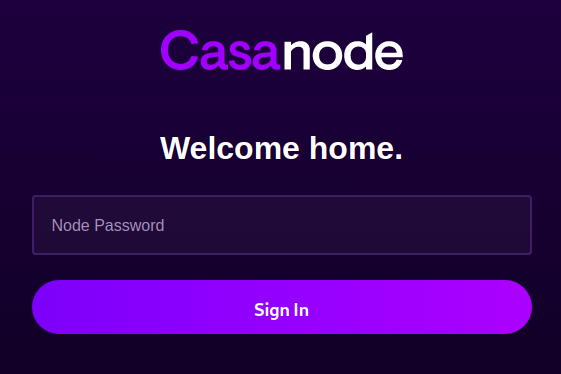
Now you should be able to go to casa-node.local or the internal IP address of your node in the web browser. If you don't know how to find the internal IP address of your node from your router's web interface, we recommend you install Angry IP Scanner to make it easy. You'll be presented with a warning that it's recommended to use tor browser to access the node securely.
Proceed through the setup wizard and write down your seed phrase. Once setup is complete you'll see the main dashboard. However, the node won't be fully ready to use until the Bitcoin blockchain is fully synced. This will typically take between 3 and 7 days to complete. We recommend leaving the node alone and not installing any software updates until after the blockchain is fully synced.
Note: after you reboot the device again, the credentials to log into the command line will be set to the username of "casa" and password of what you set during the setup wizard.
Welcome to your Casa Node!

